
Style
Patches for Your Backpack: How to Choose and Attach Them
August 8, 2026
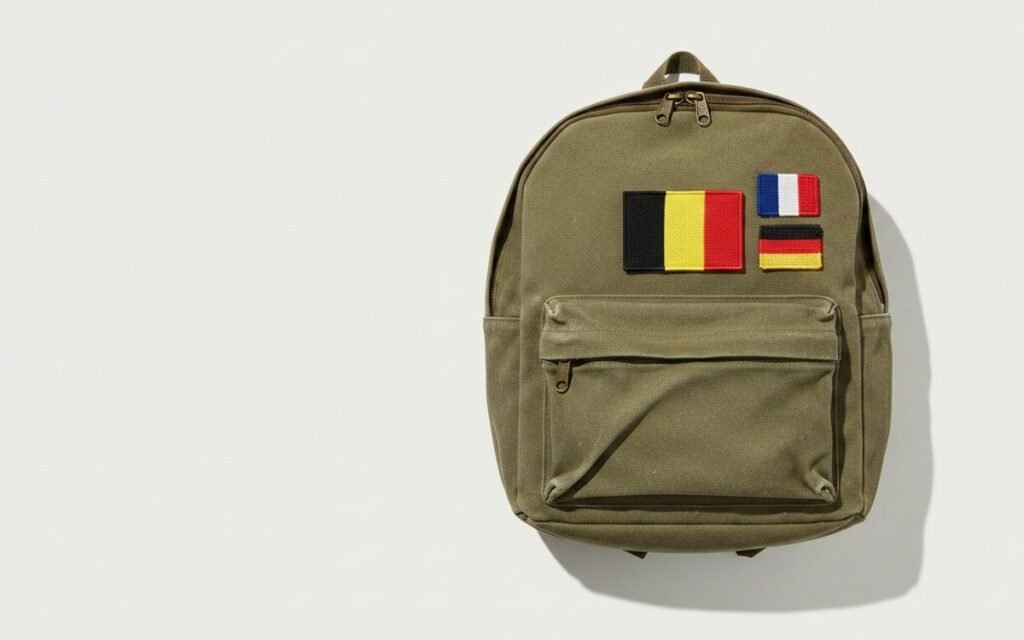
A backpack is the easiest thing in the world to personalise. It is flat, it is roomy, and every patch you add is a small record of somewhere you have been or something you like.
But a backpack is not a T-shirt, and the usual patch advice does not fully apply. Here is what actually works.
Start with the fabric — this matters more than anything
Most backpacks are made from nylon or polyester. Both are synthetic, both are sensitive to heat, and both can melt, shine or pucker under an iron long before the patch adhesive has done its job.
So before you reach for the iron, check the care label. If your bag is canvas or cotton, you are fine. If it is nylon, polyester or has a waterproof coating, read can you iron patches on nylon, polyester or a backpack? first — we go through the safe method and the temperatures involved.
If you are not sure, sew the patch on instead. It takes longer but it cannot damage the bag.
Which patches suit a backpack
Bigger works better than smaller. A backpack has large flat panels, and a 3 cm patch tends to disappear on one. Something in the 6–10 cm range reads properly from a distance.
Two collections tend to do the heavy lifting here:
- Flag patches — the classic. One per country visited, building up over time. This is the single most popular thing people put on a rucksack.
- Travel patches — landmarks, maps and wanderlust designs, for when a flag is too literal.
Beyond that it is personal. Browse the full range and pick things you will still like in two years, because getting them off again is more work than putting them on.
Where to put them
The front panel is the obvious spot and the one everyone sees. A few things worth knowing:
- Avoid seams, zips and buckles. A patch needs a flat surface. Anywhere it bridges a seam, the edge will lift.
- Avoid the base. The bottom of a bag takes the most abrasion — patches there wear out first.
- Keep clear of the straps. They flex constantly and rub against your body.
- Lay them out before you commit. Arrange everything on the bag, step back, then attach. Spacing looks very different from a metre away.
Iron-on or sewn?
Our patches are iron-on, which is fine for canvas and cotton bags and quick to do. But a backpack takes more punishment than a jacket — it gets dragged, thrown in overhead lockers, rained on and overpacked.
If a patch matters to you, iron it on and then stitch around the edge. It is a few minutes of work and it removes the question entirely. This is standard practice among long-term travellers, and it is what we would do ourselves.
How many is too many?
There is no rule, but there is a pattern: bags that look good tend to either have one or two deliberate patches, or a dense collection built up over years. The awkward middle is five or six scattered randomly.
If you are starting out, begin with a small cluster in one area and grow outward from there rather than spreading thin across the whole panel.
Groups, clubs and tours
If you are kitting out a group — a scout troop, a cycling club, a school trip, a tour company — we make custom patches from your own design, from 50 pieces. Everyone gets the same badge, which is half the point of having one.
Looking after them
Spot-clean the bag rather than putting it through the machine where you can. If it must be washed, cold water and no tumble dryer. Our guide on whether iron-on patches survive the wash applies to bags too, only more so — the heat is the enemy, not the water.
Back to the Journal