
Guides
How to Iron On a Patch: A Step-by-Step Guide
June 18, 2026
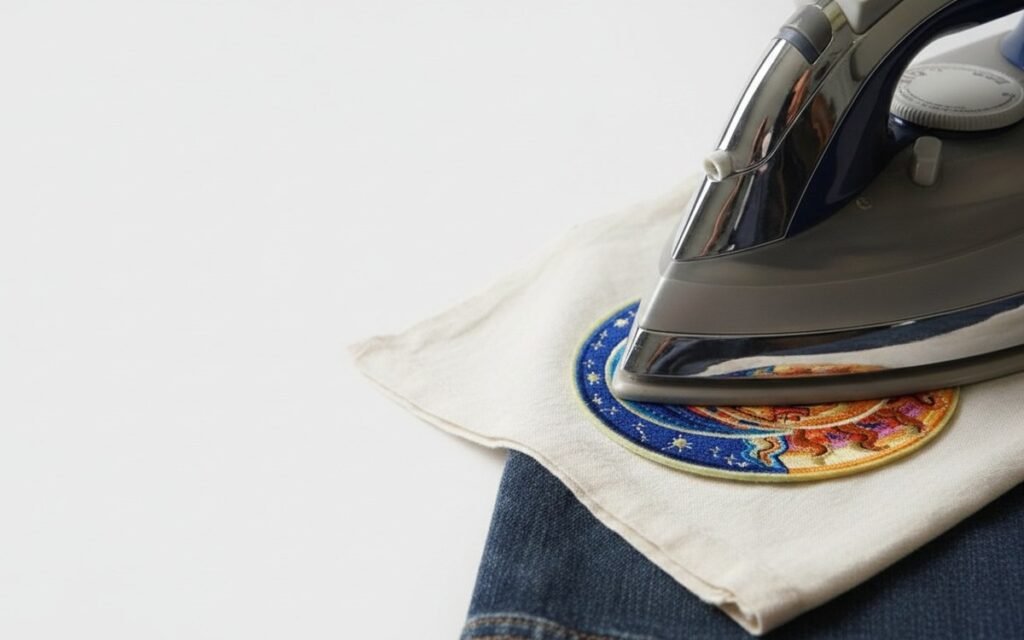
An iron-on patch is the fastest way to give a tired jacket, tote or pair of jeans a second life — no sewing machine, no special equipment. All you need is a household iron, a thin cotton cloth and about ten minutes. Done properly, the bond survives years of wear and washing. Done in a hurry, the corners start lifting after a fortnight. The difference comes down to three things: heat, pressure and patience.
What you’ll need
- Your iron-on patch
- A dry household iron — steam switched off
- A thin cotton tea towel, pillowcase or a sheet of baking parchment
- A hard, flat, heat-resistant surface
That last point matters more than people expect. An ironing board has give in it, and give means the pressure spreads instead of pressing straight down into the adhesive. A worktop with a folded towel over it works far better.
Check your fabric first
Iron-on adhesive needs real heat, so the fabric underneath has to survive it. Cotton, denim and canvas are ideal — they take a hot iron without flinching, which is why jackets, jeans and tote bags are the classic candidates.
Be careful with anything synthetic, stretchy or delicate. Nylon, polyester, leather, suede and silk can scorch, shine or melt well below the temperature the glue needs. Most backpacks fall into this group — worth reading whether you can iron a patch onto a nylon or polyester backpack before you put an iron anywhere near one.
The right temperature
Set the iron to its cotton setting — roughly 175°C (350°F) — and turn the steam off completely. Dry heat is what melts the adhesive; steam works against you, putting moisture between the patch and the fabric exactly where you want a clean bond.
Running the iron cooler than this is the single most common mistake. At 150°C the glue softens without properly flowing into the weave, so the patch feels stuck when it cools and then peels at the corners a couple of weeks later. Let the iron come fully up to temperature before you start.
Step by step
- Prepare the fabric. It should be clean, dry and completely free of wrinkles. Iron the area flat first — a crease under a patch is permanent once the glue sets.
- Pre-heat the spot. Press the bare fabric where the patch will sit for about 10 seconds. A warm surface helps the adhesive take immediately.
- Position the patch. Place it face up, adhesive side down. Step back and check it from a distance — this is your last chance to move it.
- Cover and press. Lay the cloth over the patch and press down firmly for 30 seconds. Lean into it with your body weight. Do not slide the iron around; sliding shifts the patch and drags the melted glue.
- Press from the back. Turn the garment inside out and press the reverse side for another 30 seconds. This is the step most guides leave out, and it’s what pulls the adhesive properly into the fibres.
- Let it cool. Give it a full minute, untouched. The bond forms as it cools, not while it’s hot.
- Check the edges. Run a fingernail around the border. If a corner lifts, cover and press that spot again for 15 seconds.
Common mistakes
Moving the iron. Circular motion is for ironing shirts, not patches. Press and hold.
Not enough pressure. Resting the iron on the patch isn’t enough — push.
Testing it while warm. Poking a hot patch to see if it stuck is how you unstick it. Wait for it to cool.
Skipping the cloth. Direct contact can scorch the embroidery and leave shine on the fabric around it.
Making it permanent
For anything that takes real punishment — a backpack, a work jacket, a child’s school bag — add a few stitches around the border once the patch has cooled. A simple running stitch in matching thread disappears against the embroidered edge and takes five minutes. The adhesive holds the patch in place; the stitches stop the corners ever catching on anything.
Travellers marking off countries on a rucksack tend to sew for exactly this reason — see the backpack flag patches.
Keeping it looking new
Turn the garment inside out, wash cold on a gentle cycle and skip the tumble dryer — heat is the one thing that undoes an iron-on bond. We go into this properly in do iron-on patches come off in the wash?
Changed your mind about placement? It can be undone — carefully. Here’s how to remove an iron-on patch without wrecking the fabric underneath.
Ready to start? Browse all iron-on patches — over 250 designs, shipped within 24 hours.
Back to the Journal